This will be my fifth CBG build. I stopped after number four until I figured out what I was going to do with these CBGs. I got a hold of a friend who is a musician and can play about anything, guitar, banjo, mandolin... I was able to talk him in to taking a CBG off my hands.
A little more searching and I was in touch with a buddy from my garage band days, he was excited about getting a CBG. This friend is living the dream and is a professional musician. Build number five will go to him.
A nice Cedar box. The sides are 7/16" thick making for a good solid box. The hinges are a little sloppy and there is no hasp to keep the lid closed so it will get some brass screws to keep the lid in place.
A Maple neck and Poplar fret board.
This 4 pole pick up from CB Gitty should work.
The scarf joint came out nice.
Glue and clamps are next.
The scarf joint glued up fine, and the fret slots are cut. I went with a 25 inch scale this time.
The frets are in and I have the neck cut and glued up so I can mount the pick up.
The neck will get glued to the lid, I like to do this so that if the box needs to be opened the strings wont have to be removed to get inside.
The fret board is glued and clamped. I notched the lid to accept the neck, it turned out nice the notches are a nice snug fit on the neck.
With the fret board glued up it was time to move on to mounting the pick up. Interesting that the "Four Pole" pick up is actually a six pole with the two outer poles lower and only the center four poles going through the cover.
I used painters tape for the lay out and to protect the top while I'm working on it. I drilled part way through with a spade bit.
Then open the box and finish drilling the holes, this minimizes tear out around the holes.
With the holes drilled I used my coping saw to cut out between them.
It took a little clean up with a knife but I got a good fit for the pick up.
Six brass screws should hold the lid in place. They blend in with the gold border on the box.
On to the neck... I used a carving knife to soften the sharp edges, then finished rounding the edges over with a sander.
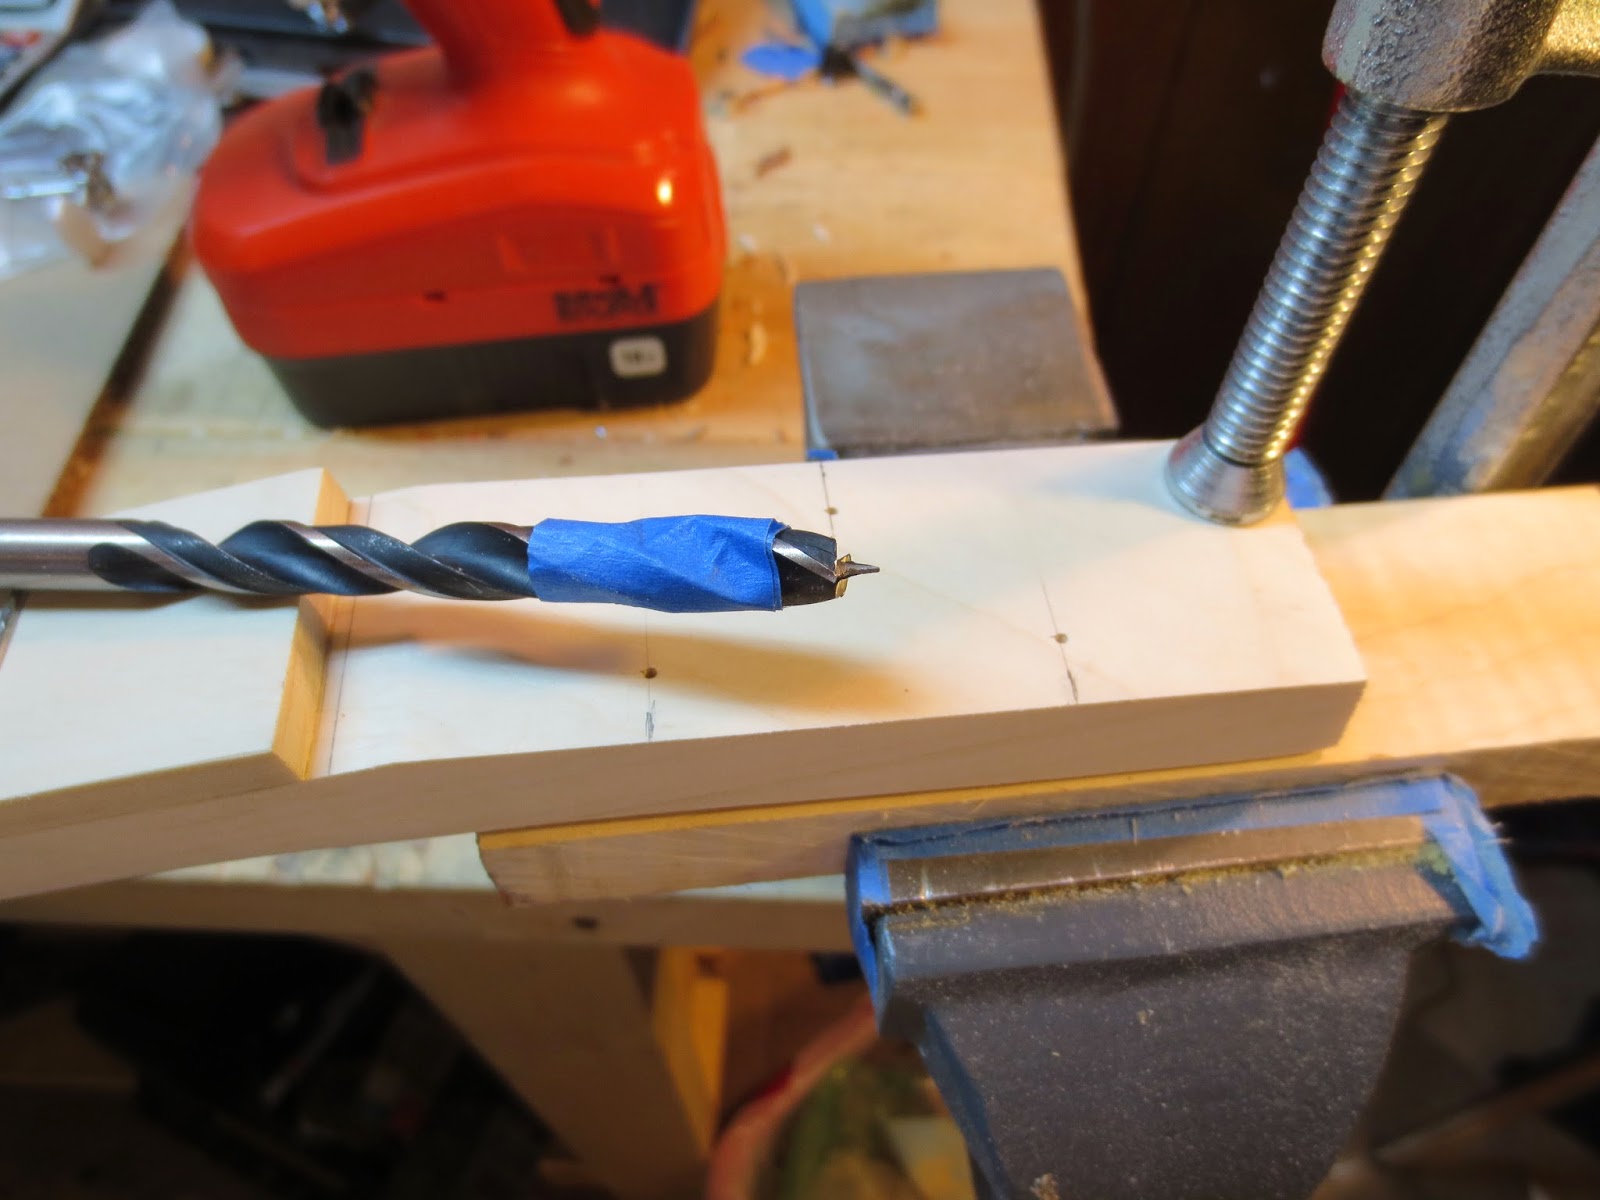
I used a 5/16" brad point bit to drill out for the tuner bushings, then finished the hole with a 1/4" bit for the tuner shaft. It will be getting a set of CB Gitty economy tuners, the leftovers from a set of six so it will have one left and two right.
I wanted to add some shape to the head so I went with an angled cut ...
A chunk of brass cut and filed into a shape resembling a nut.
Right or wrong I'm using shellac to seal the neck. It was easy to use. With a 30 minute dry time, I was able to get three coats on in one night. I'll glue the neck to the lid and let it sit over night with the clamps on.
A bit off topic, but I checked the mail after work today and found my CB Gitty order had arrived. A set of Mini Humbuckers, Fret wire, Jack plates and a set of tuners. I'm going to use the tuners for this build I think the chrome will look better than the mother of pearl tuners I was going to use.
Back to the build, I mounted the pick up and controls. There was a lot of excess wire, so I cut off the excess and resoldered everything. No sense in having a bunch of extra wire flopping around inside the box.
It's getting close. Tomorrow will be tailpiece and bridge day. I've got the tailpiece cut out and waiting to have holes drilled for the strings to go through. I think I'm going to use a piece of scrap Maple from the neck to make the bridge, I'll sleep on it tonight and decide tomorrow...
Another chunk of brass became the tail piece.
Some leftover fingerboard was made into a bridge.
And this is what I ended up with.... I'm happy with the way it turned out.
I'll spend a day or two with it before I ship it off to its new home. I've already picked out the box for my next build.


No comments:
Post a Comment